How to take screenshots in Windows 7, 8, 10 and 11
Screenshots are very useful, weather you want to capture part of a program or website there are a number of ways to accomplish this task on a Windows computer in this guide we will take a look at a few ways you can take a screenshot on Windows 7 and higher.
This has many use cases including the following:
- Capturing error messages to send to software developers
- Saving your desktop layout
- Getting a screenshot of a specific program
- Grabbing part of a website to view later
How to take screenshots in windows 7
To take a screenshot on a Windows 7 computer head over to the start menu and search for “snipping tool” and click on the following icon:
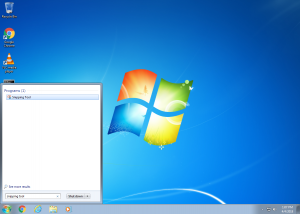
Next select the area which you want to grab a screenshot of and click and drag and release when ready. If you need to open the application or get to the area you want to capture just press cancel in the window and then new when you are ready.
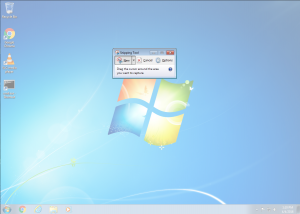
Next you can use the pen icon to make any adjustments and when your done just press the save icon to save the image or go to File –> Save as and choose a location and filename.
How to take screenshots in windows 8/8.1
To do this in Windows 8 or 8.1 the same process can be followed however to get to the snipping tool right click where the start menu would reside and choose search. From here type “Snipping tool” and click on the following icon to open it up.
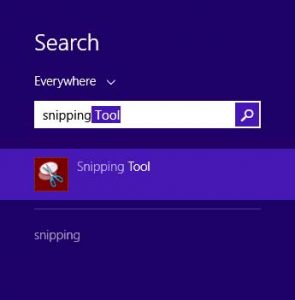
Now that the snipping tool is launched the same steps can be applied to take a screenshot and save it to your computer.
How to take screenshots in windows 10 & 11
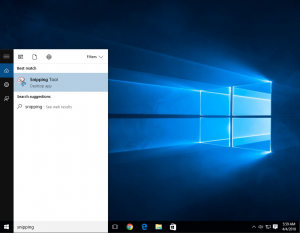
On a Windows 10 computer simply go to the start menu and search for the snipping tool there. Once open you can follow the same steps as mentioned above to take the required screenshots and save them to your computer.
Lastly the snipping tool also allows you to set a delay in seconds before a screenshot is captured as well as editing options to draw on the image as well as save to different formats such as html, jpg as well as png.
(update: The Snipping tool is been slowly phased out and replaced by an app called “Snip & Sketch”)
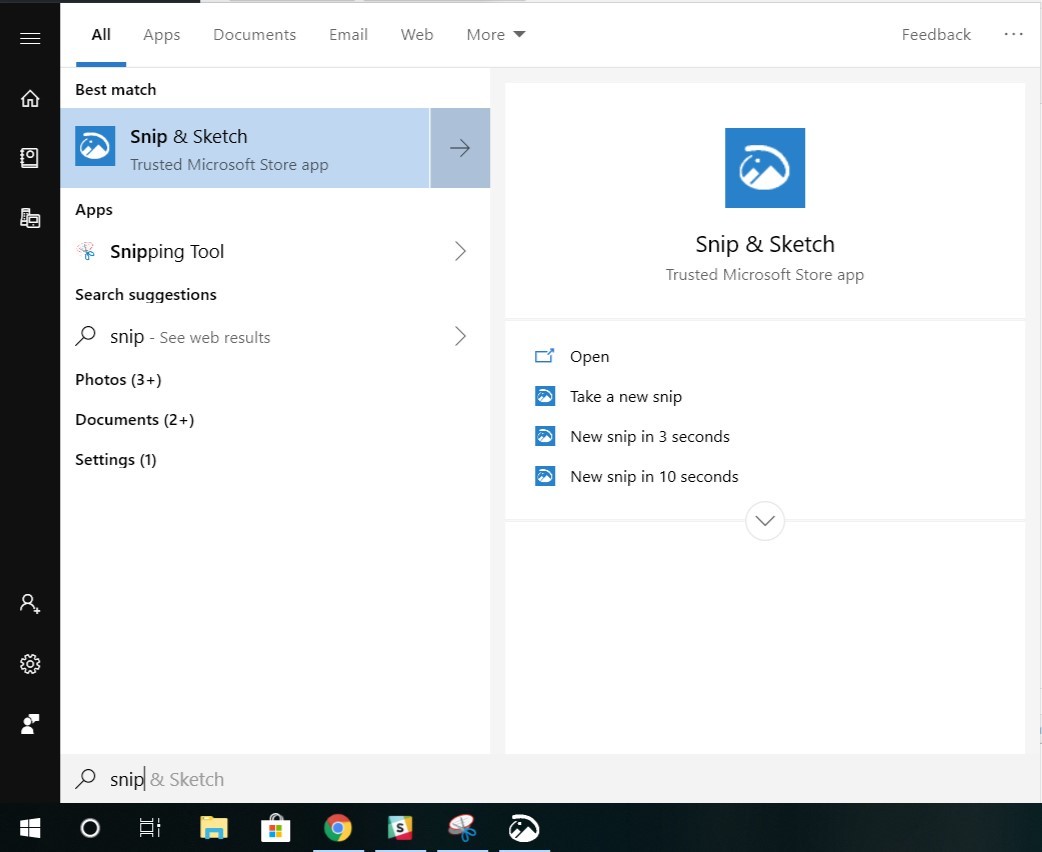
In order to use the new application go to the start menu and search for “Snip & Sketch” and open the program. Once open the interface is almost identical to the original snipping tool but has a more up-to-date fresh design.
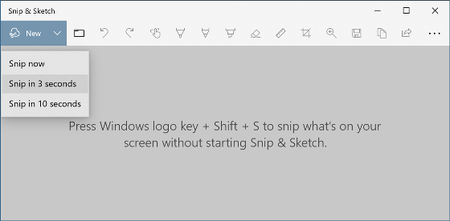
A neat feature in the new app is the ability to add a delay between the capture so you can capture after so many seconds which is very handy.
Conclusion
And that’s it very quickly you can take a screenshot in Windows 7 as well as newer versions of Windows without installing any third party software. If you found this useful be sure to share the article or check out our blog, software, videos and business services for more.
More content & resources from our blog:
Top rated learning management systems for small businesses & startups
How to fix printer issues on Windows, macOS & Linux
List of some of the best Crypto exchanges in Australia
*Image credits:
All images were created through screenshots with the remainder utilized under a fair use license
Last updated on 19th of February 2023

Alessio Rigoli is the founder of AGR Technology and got his start working in the IT space originally in Education and then in the private sector helping businesses in various industries. Alessio maintains the blog and is interested in a number of different topics emerging and current such as Digital marketing, Software development, Cryptocurrency/Blockchain, Cyber security, Linux and more.
Alessio Rigoli, AGR Technology
![logo-new-23[1] logo-new-23[1]](https://agrtech.com.au/wp-content/uploads/elementor/thumbs/logo-new-231-qad2sqbr9f0wlvza81xod18hkirbk9apc0elfhpco4.png)
