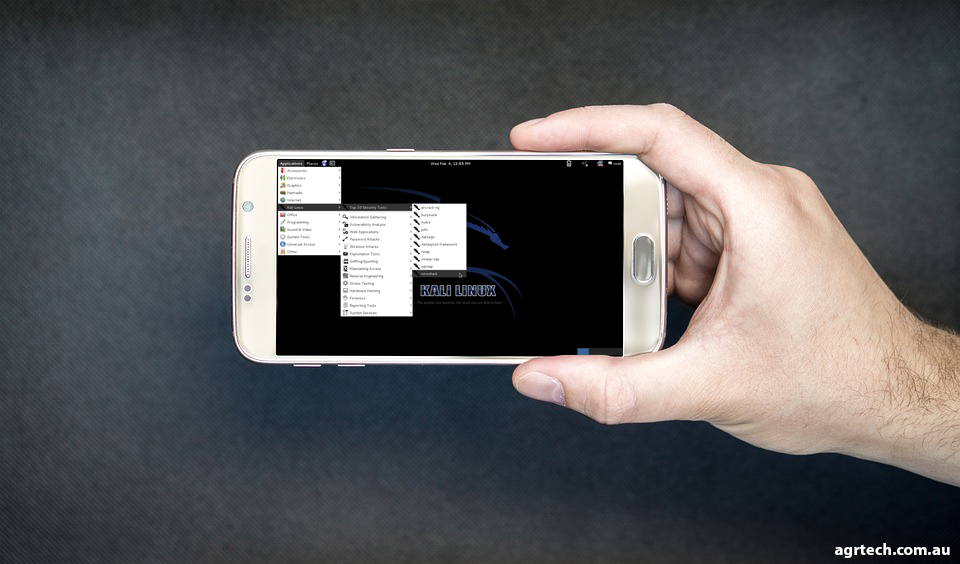
A brief history of Kali Linux and where it came from:
Kali Linux is a Linux distribution designed for digital forensics and penetration testing specialists to conduct network security accessments. It is maintained and funded by Offensive Security. It has around 600 pre-installed penetration-testing tools, including John the Ripper and Wireshark.
It was featured in multiple episodes of the TV series Mr. Robot. Kali Linux is based on the Debian testing branch and imported from the Debian repositories.
Kali Linux runs on a number of platforms, and, in this article, we’ll show you how you can make it work on your Android smartphone as well.
Requirements
-
Rooted Android smartphone
-
Approximately 5 GB of free storage space
-
Wi-Fi internet connection
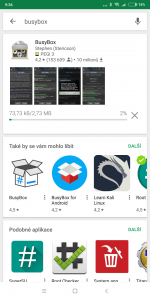
Install BusyBox
To successfully install Kali Linux on Android, you first need to install BusyBox, a suite of several stripped-down Unix tools created for embedded operating systems with very limited resources.
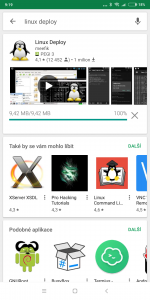
Install Linux Deploy
Linux Deploy is a handy Android app that makes it possible to easily install several Linux distributions, including Kali Linux. The app creates a disk image on your Android smartphone, mounts it, and installs the Linux distribution of your choice on it. Because the distribution is contained within a disk image, you can painlessly remove it or move it somewhere else.
Configure Linux Deploy
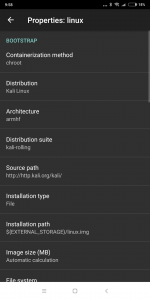
With both BusyBox and Linux Deploy installed, it’s time to install Kali Linux. But first, it’s necessary to change some settings.
-
Launch Linux Deploy
-
Tap the Settings button at the bottom
-
Under Deploy, select Distribution and change it to Kali Linux
-
(Optional) Change the installation path to suit your needs
-
(Optional) Change your username and password under the User name and User password
-
Click the Install option at the top to begin the installation process and wait for it to complete
-
After the installation is complete, click Start to launch a VNC server inside your Kali image.
Connect to Your Kali Image Using VNC Viewer
With Kali Linux running in the background on your Android smartphone, the only thing left to do is connect to it using a VNC client.
-
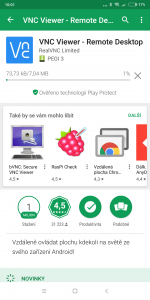
Open Google Play
-
Search for “VNC Viewer”
-
Install and launch VNC Viewer by RealVNC Limited
-
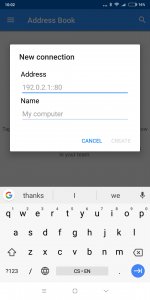
Connect to the Kali session remotely using the username and password defined in the settings
-
Use “localhost” as your IP address
-
-
Click the Connect button
-
You’re done! You can now enjoy the world’s best penetration testing environment right on your Android smartphone
Conclusion
As you can see, it’s quite easy to install Kali Linux on an Android smartphone. Having a powerful penetration testing and ethical hacking Linux distribution on your phone allows you to discreetly test networks from anywhere, using the same suite of tools that professional forensic and IT security specialists use to conduct network security assessments. Just make sure to stay on the ethical side of penetration testing to avoid getting into legal trouble.
If this guide helped you out be sure to share it with the buttons below and check out our other Android & Linux blog posts, business solutions and subscribe to the YouTube channel for video content.
Last updated on the 1st of March 2021
Other content you may also like on our blog:
How to run Windows XP on Android
How to download .apk files from Google Play
How to run Windows 7 on Android
Some of the best LMS platforms for small businesses

Alessio Rigoli is the founder of AGR Technology and got his start working in the IT space originally in Education and then in the private sector helping businesses in various industries. Alessio maintains the blog and is interested in a number of different topics emerging and current such as Digital marketing, Software development, Cryptocurrency/Blockchain, Cyber security, Linux and more.
Alessio Rigoli, AGR Technology
![logo-new-23[1] logo-new-23[1]](https://cdn-ihdfn.nitrocdn.com/eZVJvoSTyVixkEUySRKiaseNtUlmgCyu/assets/images/optimized/rev-e93b6b3/agrtech.com.au/wp-content/uploads/elementor/thumbs/logo-new-231-qad2sqbr9f0wlvza81xod18hkirbk9apc0elfhpco4.png)
