Introduction
If you ever need to troubleshoot a Windows PC one way to do it is through Windows PE short for Windows Pre-installed environment which provides a portable stripped down version of Windows which can be stored on a USB or DVD to help repair a PC or start a basic Windows instance.
For more information regarding Windows P.E I have attached the following snippet from Wikipedia to provide some more insight into the feature and how it may assist you in your computing.
WinPE was originally intended to be used only as a pre-installation platform for deploying Microsoft Windows operating systems, specifically to replace DOS in this respect. WinPE has the following uses:
-
Deployment of workstations and servers in large corporations as well as pre-installation by system builders of workstations and servers to be sold to end users.
-
Recovery platform to run 32-bit or 64-bit recovery tools such as Winternals ERD Commander or Windows Recovery Environment (Windows RE).
-
Platform for running third-party 32-bit or 64-bit disk cloning utilities.
For more technical information refer to the following wikipedia entry.
This process is generally quite time consuming and involves a number of steps to capture an image of your system and then convert all files into a single ISO file which can be flashed onto a USB or DVD and made bootable.
In this guide we will take a look at a simple and quick way to create a Windows PE ISO for yourself and burn it to a bootable disk or create a bootable USB for Windows repairs or other purposes.
Getting started
For this tutorial we will be utilizing a piece of software called Aomei PE Builder which allows you to easily generate a Windows PE ISO file. To get started with this tutorial go ahead and download the program for free from the following link
Once downloaded double click on the setup file and follow the prompts to get it installed on your machine. Upon installation a new icon on the desktop will be created for the program where you can open it.
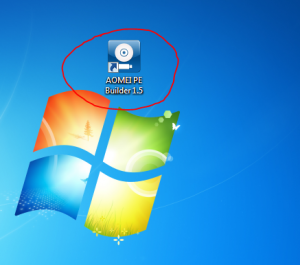
Step 1:
Once opened you will be presented with the following interface:
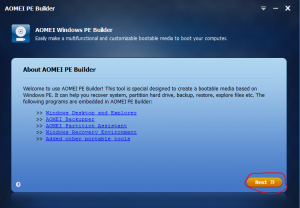
Click on next to get started with the program.
Step 2:
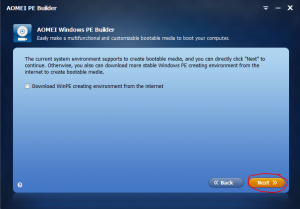
On the next screen choose next again.
Step 3:
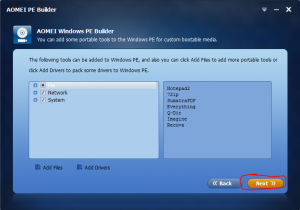
Again choose next to proceed.
Step 4:
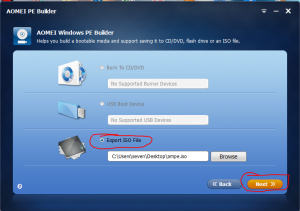
From here select “export ISO file” and click browse to select a location for the file and click on next.
Step 5:
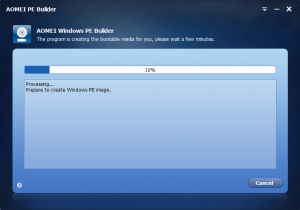
Wait for the process to finish and you will end up with a ISO file which you can easily burn to a disk or create a bootable USB drive.
Conclusion
With the above steps complete you can quickly and easily create your own Windows PE installation media to help solve Windows problems or help diagnose issues with your PC. Have you enjoyed this guide? If so be sure to share it with the buttons below and check out the blog and video pages for more content.

Alessio Rigoli is the founder of AGR Technology and got his start working in the IT space originally in Education and then in the private sector helping businesses in various industries. Alessio maintains the blog and is interested in a number of different topics emerging and current such as Digital marketing, Software development, Cryptocurrency/Blockchain, Cyber security, Linux and more.
Alessio Rigoli, AGR Technology
![logo-new-23[1] logo-new-23[1]](https://cdn-ihdfn.nitrocdn.com/eZVJvoSTyVixkEUySRKiaseNtUlmgCyu/assets/images/optimized/rev-e93b6b3/agrtech.com.au/wp-content/uploads/elementor/thumbs/logo-new-231-qad2sqbr9f0wlvza81xod18hkirbk9apc0elfhpco4.png)
