Introduction
This guide will walk you through the process of setting up and hosting meetings in the popular conferencing tool Zoom as well as sharing the invitation link with others so they can join.
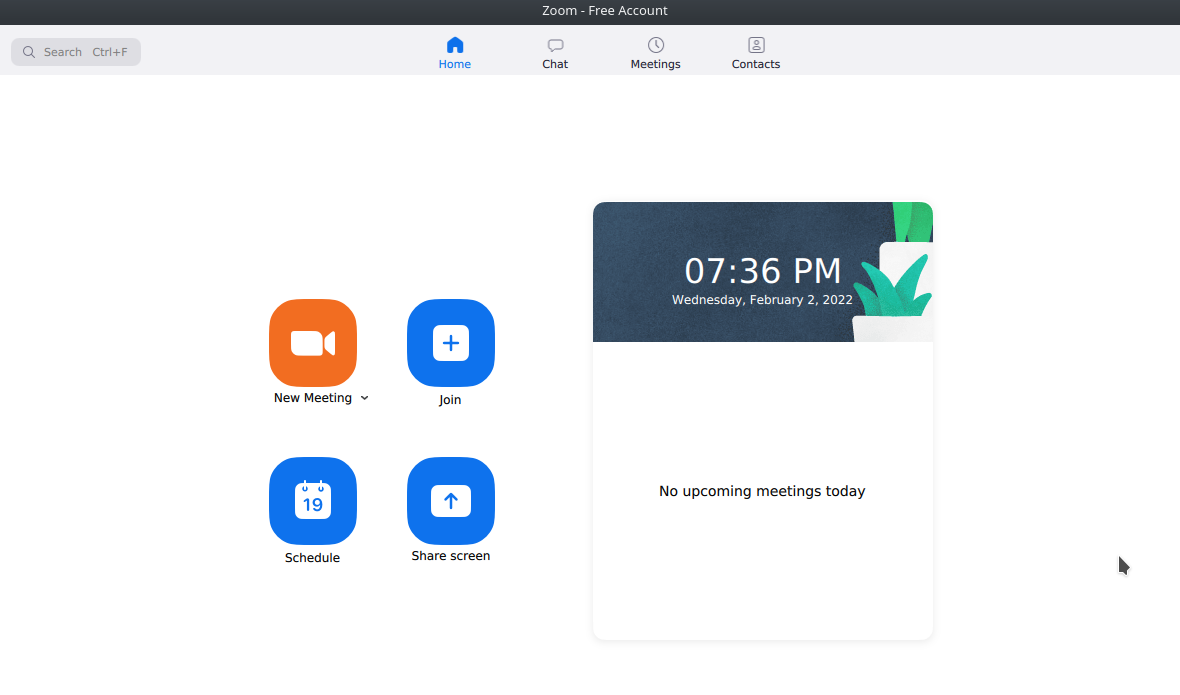
Step 1: Open Zoom and sign-in to your account

If you don’t have an account with Zoom you can sign-up for an account here which at the time of writing is free and only requires payment for meetings over 30 minutes and for additional premium functionality.
Step 2: Creating your meeting

From here select the “meetings tab” at the top of the screen and press the + symbol on the top left-hand corner of the screen.

Next a window will appear with preferences for the meeting where you can fill out the name of the meeting, time, duration and timezone.
These settings can be adjusted if you wish however default settings work fine in most cases. Once your done simply click on save to move to the next stage.
Step 3: Finishing to create the meeting and sharing the link
Once you click save a small window will briefly appear on the screen with a circular loading/progress icon. Once done a small window will open with a message saying “Your meeting has been scheduled”.

Click on the blue “Copy to clipboard” button on the bottom left corner of the screen which will copy all the information for the meeting.
Step 4: Sharing the meeting
Now you can open up your preferred email program or messaging program and paste the content into a new message addressed to the people you want to meet with.
- For Windows & Linux computers you can paste by right clicking and choosing paste or pressing CTRL + V on your keyboard.
- For macOS users right click and choose paste or press Command + V on the keyboard.
Now that the meeting is shared you can close the popup window which will bring you back to the meetings page.
Step 5: Starting the meeting

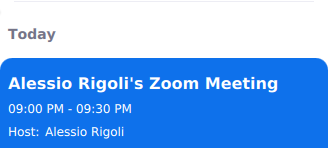
On the meetings screen inside Zoom you will now see the newly created meeting listed in the left-hand sidebar. Clicking on it will change it to a blue color like the image above and show options on the right-hand side of the screen.

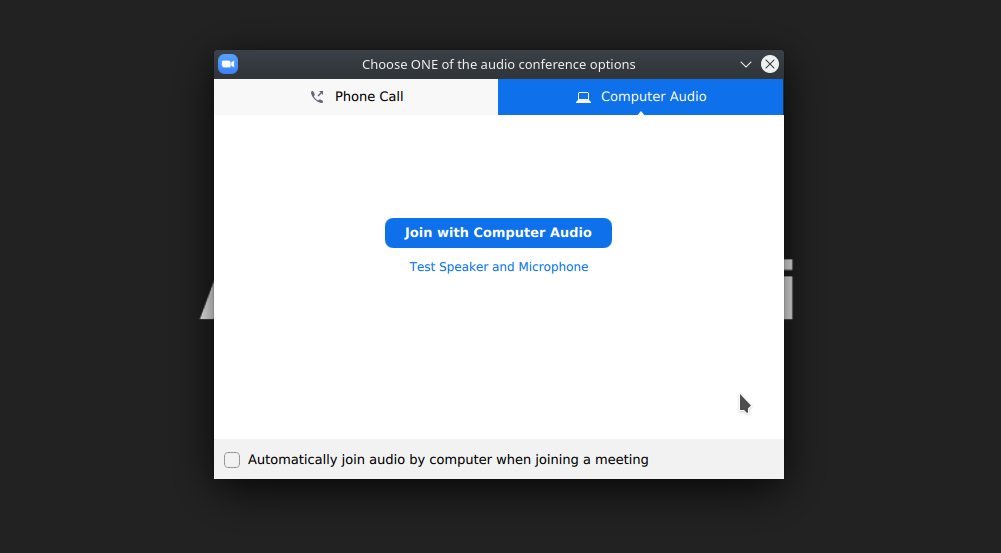
Once you start the meeting it will be accessible for those with the link to join. At this point you will be prompted to enable the microphone and webcam for the computer or mobile device. You can also press the “copy invitation” button to re-copy the meeting if you need to resend the code to someone.

Choose “use computer audio” if your using your computer which will activate the microphone that is either built-in or through a pair of headphones/headset.
You can optionally choose to enable the webcam by clicking the icon in the bottom left-hand corner of the screen. Alongside these icons clicking the audio icon will also allow you to mute and un-mute sound at any time.
Step 6: Accepting people into your meeting
Once someone opens your link and follows the prompt to join you will see their username appear appear as a small notification in the top-right hand corner with a button that says “admit”.
Pressing admit will allow that person to enter the meeting where you can then start your conference.
Conclusion
We hope you found this resource page to be helpful if so be sure to share it with anyone you think would benefit from it.
You can see more content on our blog and follow us to keep up with updates. Also be sure check out our business solutions such as Software development, SEO and more.
![logo-new-23[1] logo-new-23[1]](https://cdn-ihdfn.nitrocdn.com/eZVJvoSTyVixkEUySRKiaseNtUlmgCyu/assets/images/optimized/rev-0174fc5/agrtech.com.au/wp-content/uploads/elementor/thumbs/logo-new-231-qad2sqbr9f0wlvza81xod18hkirbk9apc0elfhpco4.png)