Introduction
In computing, DNS stands for Domain Name Server and is an integral part of modern networking. Essentially the DNS server acts as a means of translating standard web addresses you use every day such as “agrtech.com.au” to a physical IP address a computer can understand and connect to.
As opposed to typing different IP addresses such as 193.312.13.2 every time you want to visit a website you can just remember a simple address and use that instead therefore making DNS very important for modern computing.
More detailed technical information regarding DNS can be found here
Introduction
Your computer stores a table of domain names and their associated IP addresses to help you access websites quickly, this is cached meaning that it is held on your computers hard drive/SSD to speed up lookups for websites you visit frequently.
While this helps to significantly speed up your internet, over time this can cause some problems. For example, a website may have moved to an alternative server and is therefore not reachable from its old address. This can also sometimes result in a slower internet overtime as certain records in the DNS table may be outdated or no longer exist at all, therefore, requiring you to clear or “flush” the DNS cache locally stored on your computer.
Steps to flush DNS cache:
The process of clearing DNS cache varies on different operating systems such as Windows, Mac or Linux, see the following commands below for your specific operating system:
Windows
In order to clear the cache on Windows open the start menu and type “command prompt” or “cmd” and press enter to open a command prompt window, from here you will need to enter this command and press enter.
Mac
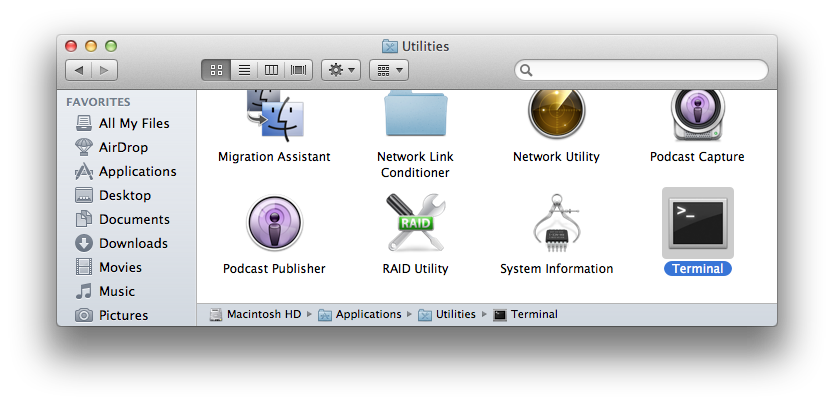
The process of clearing DNS cache varies slightly across different versions of Mac OSX, to get started navigate to the spotlight search icon in the top right-hand corner of your Mac and click on it, in the search field type “terminal” and then click on the icon to open it.

From you will see a terminal interface where you can type commands, as stated before the commands are different for each version of Mac OSX so ensure you know which version you are running this can be found by going to System Preferences and choosing about.
For Mac OS X 10.7 or 10.8 (Lion or Mountain Lion) and higher type:
sudo killall -HUP mDNSResponder
For Mac OS X Snow Leopard (10.6) users type:
dscacheutil -flushcache
For older Mac’s running OS X Leopard 10.5.1 or below type:
lookupd -flushcache
Linux
The process of clearing DNS cache on Linux varies from each distribution, here are some commands you can use depending on which distribution you are running.
Conclusion
I hope this tutorial has been useful if so be sure to share this post and comment below if you have any questions. Also check out our software and videos section for more content.

Alessio Rigoli is the founder of AGR Technology and got his start working in the IT space originally in Education and then in the private sector helping businesses in various industries. Alessio maintains the blog and is interested in a number of different topics emerging and current such as Digital marketing, Software development, Cryptocurrency/Blockchain, Cyber security, Linux and more.
Alessio Rigoli, AGR Technology
